Last time, we covered the rather ridiculous choices that led up to my decision to write a roguelike from scratch. Now, we’ll cover the first steps in the creation of Rogue Detective, and indeed, most games I write.
After the standard step of creating a new repository for source control comes the creation of the first source file. This is usually the most daunting part of development: Opening up your editor and seeing a completely blank file that needs to be populated. Step one: Save this blank file as ‘main.py’. Great, we’re half-way to finishing the game, but there’s no time for a break quite yet.
I already knew we’d be using the curses library, so a good first step would be to import it. Additionally, I wrote a barebones do-nothing main function and uses a curses utility function to call it. At this point, here’s the totality of what I had:
import curses

def main(stdscr):
    pass

if __name__ == '__main__':
    """Handles all the nasty stuff to do with curses set-up + tear-down"""
    curses.wrapper(main)
As part of the wrapper function, the main is called and passed a variable called stdscr. This is a curses Screen object. This is our canvas upon which we’ll draw our player character, NPCs; the world, basically. This will be passed to the object that controls the world, so it can also control the canvas. Calling the function via the wrapper serves a couple of purposes:
- The wrapper handles all curses set-up and tear-down, as mentioned in the docstring. It will initialise curses and set up various desirable cursor attributes such as disabling echo and enabling instant keyboard inputs. After the passed in function has ended, it shuts down curses gracefully.
- In case of an unhandled exception in the called function, the wrapper will catch it, shut down curses correctly, and then re-throw the exception. This prevents such a crash from destroying your terminal settings.
I went in to this particular stretch of work with the goal of having my character (an @ symbol) move around the screen controlled by the arrow keys. With the program successfully bootstrapped and in a ‘working state’, it was time to accomplish that goal.
I wanted to keep the main function as lightweight as possible, leaving it as only the entry point to the application and nothing more. I accomplished this by writing a Game class which the main would instantiate and then call a function of. In this case, the function is called mainLoop, and as you might expect, it is responsible for controlling the game loop itself. Before we get in to that, let’s examine the members of the Game class.
class Game:
    """The game logic itself. The loop and input handling are here."""
    def __init__(self, screen):
        """Create the screen, player, assets."""
        self.screen = screen
        self.running = True
        self.player = Player()
So all we have right now are variables for storing the aforementioned Screen instance, another for storing the state of the game (running, not running), and one containing a currently mysterious Player object. How about that mainLoop I mentioned?
    def mainLoop(self):
        """Run the game while a flag is set."""
        while (self.running):
            self.logic()
            self.draw()
            self.handleInput()
As long as the game is running, we run all the logic for the game, draw the resulting position, then wait for player input.
    def logic(self):
        pass
No game logic exists at this point, so logic is an empty function.
    def draw(self):
        """ Draw it all, filling in the blanks as necessary """
        self.screen.erase()
        player = self.player
        self.screen.addstr(player.y, player.x,
                           player.character, curses.color_pair(1))
        self.screen.move(player.y, player.x)
        self.screen.refresh()
draw actually does something useful. It clears the previous screen, grabs the Player object, draws it in the right place, and finally moves the cursor to the player’s position. That last step is one of the many niceties of a console-based roguelike: if we don’t put it directly on the player character, there are two problems:
- If we don’t uniquely colour the player character, the player (user, not game object) won’t be able to identify his character if multiple objects share the same symbol.
- If we don’t put the cursor on the player character, it has to go somewhere else. And where else would we even want to put it? It needs to go somewhere. Because of problem one, it makes sense to place it on the player character when possible.
    def handleInput(self):
        """ Wait for the player to press a key, then handle
            input appropriately."""
        character = self.screen.getch()
        if character == ord('q'):
            self.running = False
        elif character == ord('h'):
            self.player.move(Direction.LEFT)
        elif character == ord('j'):
            self.player.move(Direction.DOWN)
        elif character == ord('k'):
            self.player.move(Direction.UP)
        elif character == ord('l'):
            self.player.move(Direction.RIGHT)
Given the turn-based nature of the game, there’s no need to do anything particularly clever like pump event queues or have time-out functions. We explicitly wait for the player to input a character via a Screen function, check the result against the list of characters we’re expecting, and perform the associated action if we get a match. In this case, we call one of the Player functions to move the character around the screen. You’ll also notice we pass in an enum. In Python, enums are usually just static class variables grouped in a class that becomes the enum’s name:
class Direction:
    """An enum for the possible movement directions"""
    UP = 1
    DOWN = 2
    LEFT = 3
    RIGHT = 4
In this case, nothing clever is going on: An enum of four elements in declared for the four directions of movement. Let’s cover the Player object now:
class Player(object):
    """The player object, containing data such as HP etc."""
    def __init__(self):
        """Initialise the player object"""
        self.x = 20
        self.y = 30
        self.character = '@'
At the point in development, the Player contains only information strictly required to render it: Its position on the screen (y, x) and the character we should use to represent it. This is used by the draw function in the above Game class. It has a single member function:
    def move(self, direction):
        """Move the player one unit in the specified direction"""
        if direction == Direction.UP:
            self.y -= 1
        elif direction == Direction.DOWN:
            self.y += 1
        elif direction == Direction.LEFT:
            self.x -= 1
        elif direction == Direction.RIGHT:
            self.x += 1
This gets called by the handleInput function, and moves the player in the given direction. I should probably mention that this code will let you move the player character out-of-bounds of the Screen object. This throws an exception and crashes the program. Additionally, you can’t move to the bottom-right most part of the screen, for a much more subtle reason: Curses will draw the @ symbol in the very last available space, but then attempt to move the cursor along to a location that doesn’t exist in the screen space. Both of these problems will be fixed later on.
At this point, we can revisit the main function and see how we incorporate this new Game object. There’s no surprises here:
def main(stdscr):
    """Initialises the Game object and basically gets out of the way"""
    stdscr.bkgd(' ', curses.color_pair(0))
    game = Game(stdscr)
    game.mainLoop()
We set the ‘background’ to be made up of blank characters. If we ever erase the screen, it is actually filled with the background character, as set by the bkgd function. We then instantiate and start the game.
That’s it! The actual code looks a little different for the first commit (there’s a superfluous class floating around, and some of the code has been changed here for clarity). How does it look? Well, take a look:
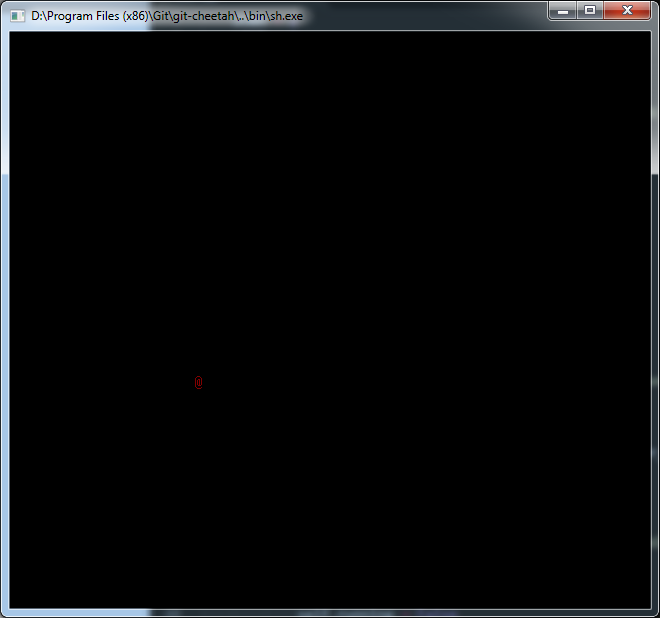
In the future, we won’t cover whole commits. Indeed, we won’t cover each commit, but rather the functional milestones of the project. Hopefully you’ve gained a little bit on insight in to how a Python curses project starts life. Next time, we’ll look at the implementation of walls and other standard obstacles you tend to see in roguelikes.